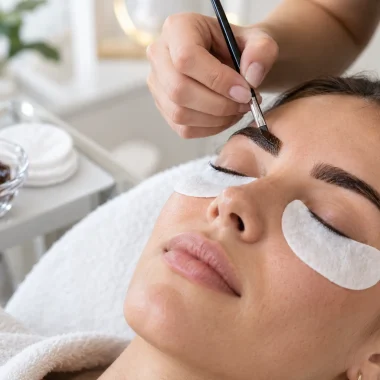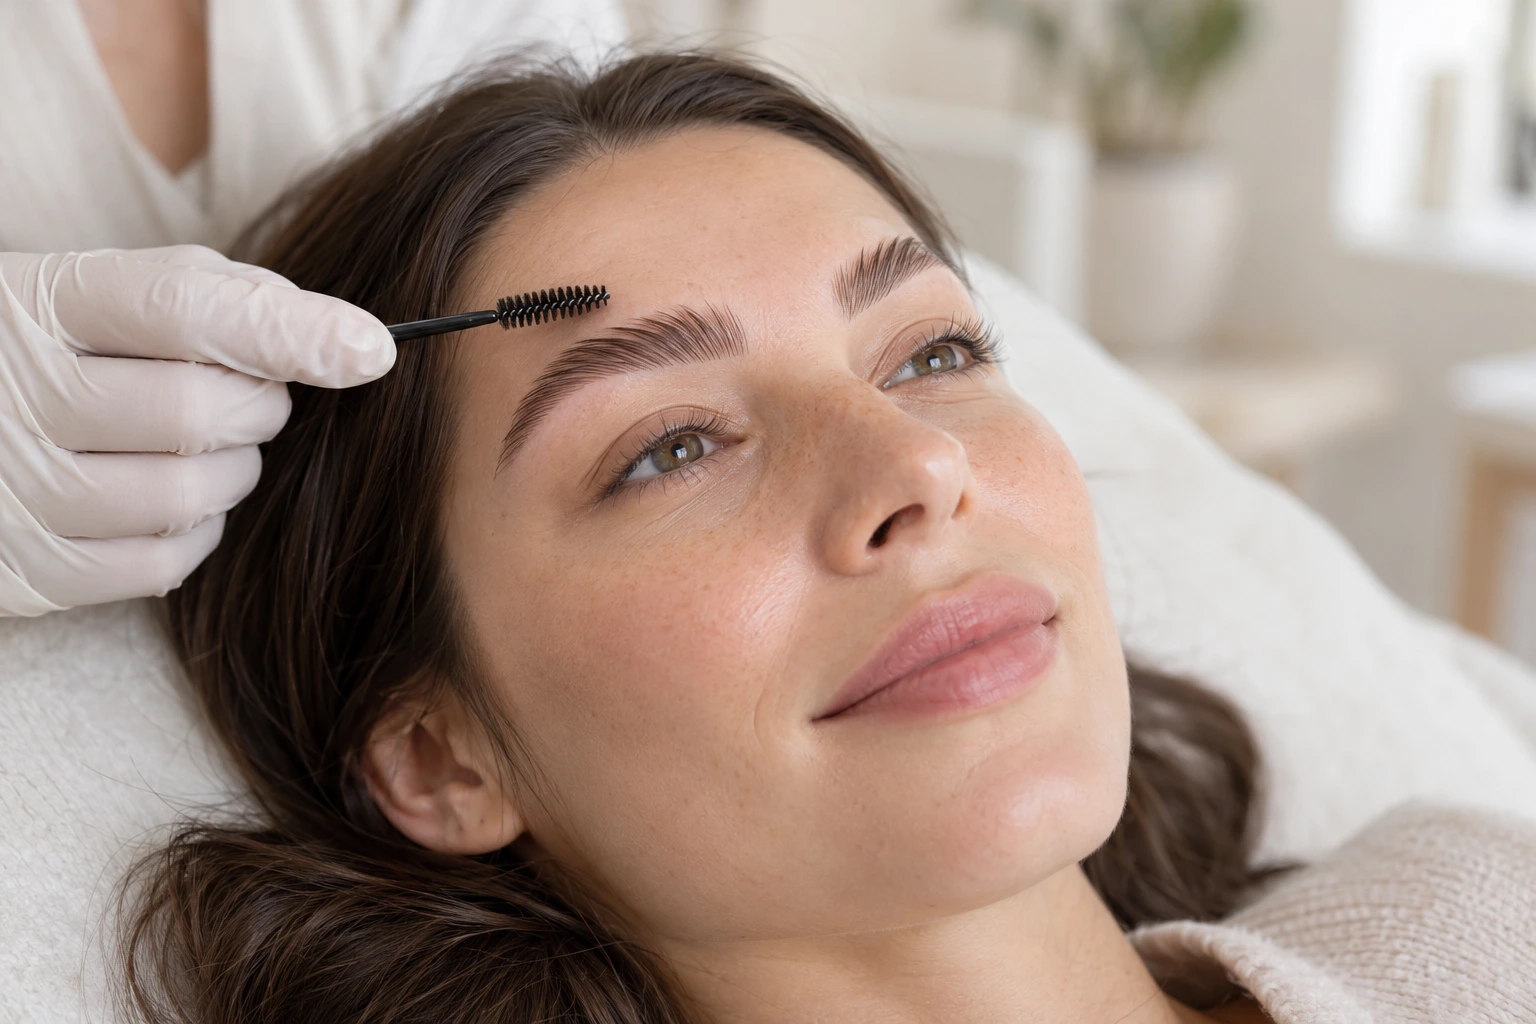
Brow lamination solves a problem almost every client has: brows that grow in different directions, look sparse in places and refuse to stay put. Done well, it gives a fluffy, brushed-up, uniform shape that lasts for weeks. Done badly, it gives dry, frizzy or over-processed hair and a client who does not come back. This guide walks through the full service as a professional would run it, from the consultation to aftercare, and shows where the Brow Lash World range fits at each stage.
What brow lamination actually does
Brow lamination is a two-step chemical styling service. A first lotion softens the hair’s internal bonds so the hairs can be repositioned. A second lotion neutralises and sets them in the new direction. Between the two steps, the hairs are brushed up and sideways and held in place, which is what creates the signature laminated look. You are simply re-training the existing hair for a few weeks.
Step 0: consultation and contraindications
Good lamination starts before any product is opened. Spend five minutes on a proper consultation and write down the answers on a client card.
Questions to ask
- Have they had lamination, a perm, henna or tint before, and how did the skin and hair react?
- Any known allergies, especially to hair-colour, thioglycolates, latex or adhesives?
- Recent treatments in the brow area: waxing, threading, microblading, peels, retinoids or other active skincare?
- What result do they want?
When not to proceed
Do not perform the service on irritated, sunburnt, broken or inflamed skin, on active skin conditions in the brow area, on fresh microblading or recent cosmetic procedures, or if the client has had an allergic reaction to a previous service. Be cautious with pregnancy and breastfeeding, and with clients who are under medical treatment affecting the skin or hair. In those cases, ask for a doctor’s advice or postpone.
Step 1: patch test
A patch test is standard practice before any chemical service on a new client or when you change product. Apply a small amount of the lifting lotion, and of the tint if you combine them, behind the ear or on the inner forearm, and ask the client to watch the area for 24 to 48 hours. Redness, itching, swelling or blistering means no service. Record the date and result.
Step 2: preparation and mapping
Start with clean, grease-free skin and hair. Cleanse the brow area, then use a brow primer or a gentle exfoliating prep so products sit evenly. The Noemi Brow Primer (50 ml, CHF 13.90) is a rinse-free prep step designed for exactly this, and the Noemi Pink Brow Scrub (CHF 16.90) is a moisturising option with walnut micro-granules for light exfoliation before tinting.
Mapping the shape
Brush the brows into their natural direction, then decide the final shape together with the client. Mark the start, arch and end with a pencil or the pink Noemi Brow Mapping Paste (CHF 15.90), whose colour shows up clearly against the skin. Lamination brushes hairs upward, so the shape will look taller and fuller. Trim long strays before you begin, and leave waxing or threading for at least 24 hours before or after the service.
Step 3: lifting (the perming step)
Lay the brows in the direction you want them to stay. Many professionals use a reusable silicone patch for this. The Noemi Silicone Brow Patch for Lamination (CHF 9.90) holds the hairs in place, spreads product evenly and is made of flexible silicone that adapts to the brow without pulling. It is reusable and easy to clean or disinfect.
- Position the patch or use your preferred technique, then brush the hairs upward, with the tail section slightly outward.
- Apply the lifting lotion to the hairs only, working from the base outward, in a thin, even layer.
- Cover with a strip of cling film to keep the product active and stop it from drying out. A dedicated roll such as the Brow & Lash Lift Plastic Wrap (4.2 cm wide, CHF 5.90) makes this quick.
- Time precisely and check the hair at intervals.
- Remove the lotion according to the product instructions, usually with a dry or lightly damp cotton bud, and take care that no lotion reaches the eyes.
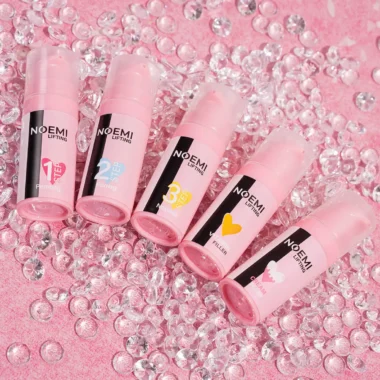
The Noemi Innovate Step 1 duo pack (2 x 10 ml, CHF 45.90) is a cysteamine HCl formula with a stated processing time of 8 to 12 minutes on lashes and brows. It is vegan and positioned as a milder alternative to thioglycol-based products, which suits clients with sensitive or fragile hair. Noemi also lists a Lifting Perming Lotion (Pump 1, 10 ml, CHF 24.90) with a 5 to 8 minute time. Whichever you choose, follow the manufacturer’s timing, not habit.
Timing by hair type
The table below is a practical framework, not a replacement for the instructions in the box. Always begin at the lower end of the range, check the hair, and extend only if needed.
| Hair type | What to expect | Processing approach |
|---|---|---|
| Fine, soft or fragile | Reacts quickly and can over-process easily | Lower end of the stated time, check early and often, add a strengthening step |
| Normal, medium | Predictable response | Middle of the stated range, check once or twice |
| Coarse or resistant | Holds its direction and needs more time to soften | Upper end of the stated range, never beyond the maximum |
| Previously tinted, bleached or porous | Absorbs fast and dries out | Shorten the time, nourish well, consider a strand test |
| Grey or very light | Often wiry and resistant | Standard to upper range, check carefully, tint afterwards if desired |
Never extend time past the manufacturer’s maximum to compensate for a stubborn hair. Brittle, frizzy or broken hairs are the usual result, and they cannot be reversed in the chair.
Step 4: fixing (the setting step)
After the lifting lotion has been removed as directed, the hairs are re-brushed into position and the fixing lotion is applied. This step neutralises the first lotion and locks in the new shape, so the hairs should not be moved around during processing. The Noemi Innovate Step 2 duo pack (2 x 10 ml, CHF 45.90) has the same stated 8 to 12 minute processing time as Step 1 and is also vegan.
Apply the fixing lotion to the hairs only, cover again if the instructions say so, then remove carefully. Brush the hairs one final time and check that the direction is even from head to tail.
Strengthening and nourishing between steps
Lamination works on the hair’s internal structure, so conditioning is part of the service rather than an optional extra. Two products in the range are made for this role. Noemi Intense Step 1.5 (CHF 29.90) is designed to slot into the process and protect and fortify the hair while it is being lifted, which is helpful for thin or fragile brows. The Noemi Vitamin Brow & Lash Filler (CHF 23.90), with hydrolyzed keratin and jojoba proteins, is described by the brand as a treatment to use between steps 2 and 3 of brow lamination or on its own.
Combining lamination with a tint
Many clients want both, and the order matters. The usual professional sequence is lift, then fix, then tint, because freshly set hair takes colour well and you avoid exposing the brow to chemicals in a stressed state twice in a row. Patch-test both products.
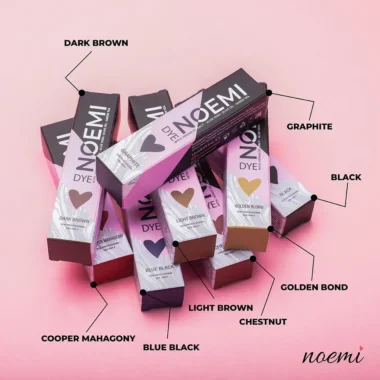
The Noemi Hybrid Brow & Lash Dye (15 ml, CHF 12.90) is described by the brand as safe to use alongside lamination and lash lift services thanks to its henna extract formulation. It comes in nine colours plus a clear colour corrector, and the brand states colour stays on the hair for about 4 to 6 weeks and on the skin for around 8 days. The Color Care Brow Mask (CHF 16.90) is recommended as a finishing step after dyeing.
Finishing the look
Brush the brows into their final direction with a clean spoolie. The Noemi Browmi Brow Gel (5 ml, CHF 16.90) is a precision styling gel for the last step, and the Noemi Brow Soap (CHF 24.90) shapes and holds brows without pre-wetting.
Aftercare instructions for clients
Give every client a written or messaged aftercare note. Good compliance is what makes lamination last. Standard advice:
- Keep the brows dry for the period recommended by the manufacturer, typically 24 hours, and avoid steam, saunas and swimming during that time.
- Do not rub or touch the brows during the first day.
- Brush the brows daily with a clean spoolie in the shape you set.
- Use a nourishing cream every day. The Noemi Brow & Lash Argan Creme (CHF 15.90) was developed to care for brows after colouring and lamination and is gentle enough for daily use.
- Postpone waxing, threading and exfoliating treatments in the brow area for at least 24 to 48 hours.
- Contact you immediately if redness, burning or swelling appears.
How long results last
There is no single figure that fits every client. Results typically last several weeks, depending on the hair growth cycle, how well the hair was processed, home care and skin type. As the brows grow out, new untreated hairs appear in their natural direction, which is the natural cue to rebook. Space services so the hair always has time to recover, and keep a conditioning routine in between.
Common mistakes to avoid
- Skipping the patch test. It takes two minutes to explain and can prevent a serious reaction.
- Over-processing. More time does not mean a better result. Respect the stated range and the hair type.
- Lotion on the skin. It causes irritation and uneven setting. Apply to hair only and keep a clean edge.
- Moving hairs during the fix step. The direction at the time of fixing is the direction that stays.
- No conditioning. Skipping nourishment leaves hair dry and frizzy within days.
- Repeating the service too soon. Give the hair recovery time between sessions.
Your brow lamination kit at a glance
You do not need every product on the shelf. A practical core set for professional brow lamination includes a lifting and fixing system, a silicone patch, cling film, a conditioner, a tint and aftercare for the client. At Brow Lash World you will find all of these in the brow collection at brow products, with Noemi Professional lifting and lamination solutions, the Noemi silicone brow patch, nourishing lotions, hybrid tints and accessories.
FAQ
How long does brow lamination take?
Plan 45 to 60 minutes for a complete service including consultation, mapping, both processing steps and finishing. With a tint, allow extra time. The processing itself is only a part of the appointment, for example 8 to 12 minutes per step with the Noemi Innovate system.
Do I need a patch test every time?
A patch test is standard for every new client and whenever you change products or the client’s skin history changes. Wait 24 to 48 hours and document the result.
Can I tint and laminate in the same appointment?
Yes, many professionals do. The usual order is lifting, fixing, then tint, but follow the instructions of your products and patch-test both. The Noemi Hybrid Dye is described by the brand as compatible with lamination.
Who should not get brow lamination?
Clients with irritated, broken or inflamed skin, a previous allergic reaction to the products, fresh microblading or recent procedures in the area should not be treated. Take extra care and seek medical advice for pregnancy, breastfeeding or medical treatment affecting skin or hair.
How can clients make the result last longer?
Keep the brows dry for the first 24 hours, brush them daily, avoid oils and harsh exfoliation, and apply a nourishing cream every day.