Why brow waxing deserves a proper protocol
Brow waxing looks simple: melt, apply, pull, done. In the chair it is one of the most technique-sensitive services on the menu, because the skin is thin, the hairs vary in length and direction, and clients expect precision. Done well, it gives a crisp outline in minutes and prepares the canvas for tint or lamination. This guide covers the full service, from wax choice to aftercare, and the Noemi products we stock; everything wax-related is in our wax category.
Hard wax vs. soft (strip) wax for brows
Both wax types remove hair, but they behave very differently on the face. Soft wax is applied in a thin layer and removed with a cloth or paper strip; hard wax is applied thicker, sets on the skin and is removed by itself, without a strip. For the brow area, most professionals favour hard wax because it grips the hair rather than the skin.
| Criterion | Hard wax | Soft (strip) wax |
|---|---|---|
| Removal | Wax sets and is lifted off by hand, no strip | Cloth or paper strip pressed on and pulled |
| Grip on skin | Grips hair, much less skin adhesion | Adheres to hair and a thin layer of skin |
| Short hairs | Good, a premium formula can work from about 1 mm | Often needs longer hair to grip reliably |
| Precision around the arch | High, applied with a small spatula in tiny sections | Moderate, strips are harder to place on small areas |
| Sensitive skin | Generally the gentler choice | More tension on the skin during removal |
| Speed on large areas | Slower, section by section | Faster on large flat areas |
| Waste and consumables | Little, but wax must be heated | Strips are single use |
The practical conclusion for brows: hard wax for shaping, the area between the brows and fine upper-lid or temple hair; soft wax is better kept for larger areas, if you offer them at all. Because hard wax does not stick strongly to skin, it is also easier to build a consistent routine for clients who react easily.
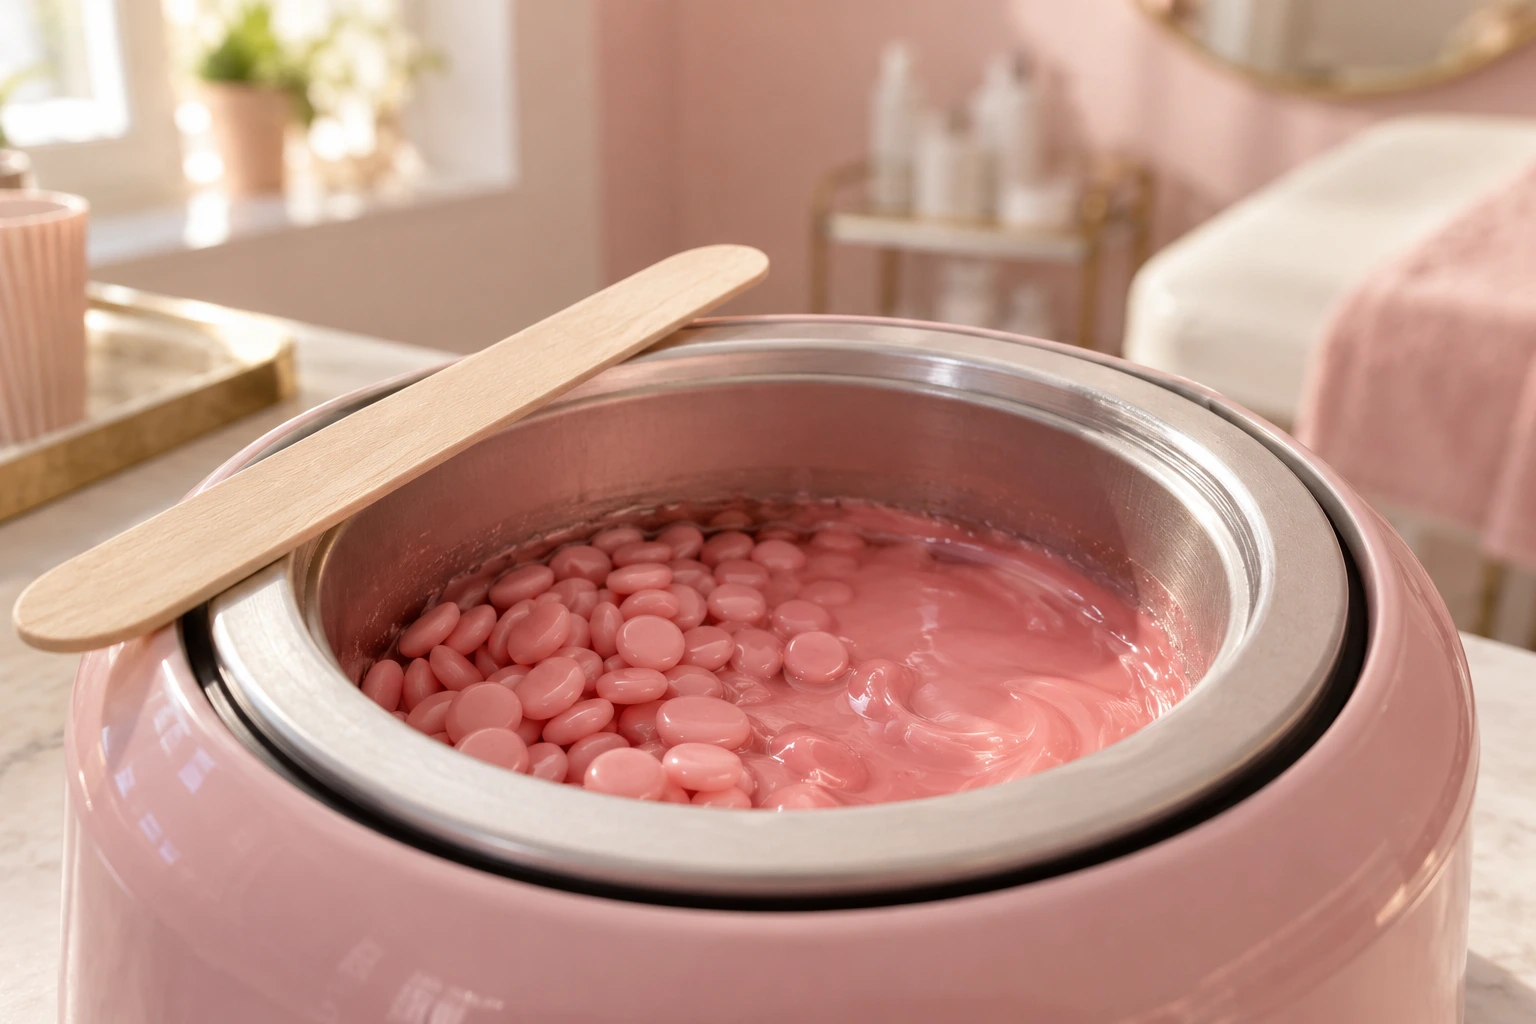
The Noemi Pink Premium Hard Wax (500g) is built around exactly these properties: effective from just 1 mm of hair length, a creamy and highly flexible formula with multidirectional grip, gentle on the skin, pleasantly scented and made in Italy. It costs CHF 22.90 and has a 24-month shelf life after opening. For a brow-focused menu, a 500g tub goes a long way, since each service uses only a small amount.
Wax temperature and heater use
Temperature is where most waxing mistakes start. Too cool and the wax is thick and drags; too hot and you risk burns, especially around the brow bone and lid. Aim for a honey-like consistency that spreads in a thin, even layer without stringing.
A large pot is wasteful for brow-only services: you heat far more wax than you need. The Noemi Mini Wax Heater heats up to 8 g of wax, about what a brow service needs, ready in 5-6 minutes. It charges via a universal Type-C port, has automatic temperature control at 115 C (plus or minus 10 C), and includes a heat-resistant silicone container that is easy to clean. It is CE and FCC certified and costs CHF 17.90.
Always test before you apply
- Heat until fully melted and smooth, with no lumps.
- Lift a little on the spatula. It should flow slowly, not run like water.
- Test on your inner wrist. It should feel comfortably warm, never hot.
- Apply a small test section on the client and ask for feedback.
The heater regulates its own temperature, but wax cools quickly once it leaves the container, so your wrist test remains the final check. Use a fresh spatula for every dip; never double-dip.
Skin preparation before waxing
Good preparation is quiet work that clients never see but always feel. It protects the skin and helps the wax grip hair rather than oil and makeup.
- Consultation. Ask about retinoids, peels, recent sun exposure, medication and previous reactions. Check for irritation, cuts, sunburn or active skin conditions in the brow area.
- Remove makeup and oil. Cleanse the brow area thoroughly. Wax grips poorly on greasy or product-covered skin.
- Apply a pre-wax lotion. A light pre-wax lotion cleanses, hydrates and leaves the skin ready without a heavy film.
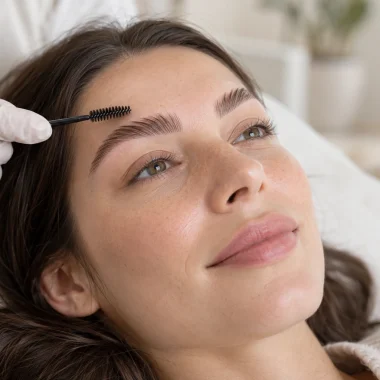
- Brush the brows upward and outward, and trim any hairs that are too long, so that the wax only catches what you intend to remove.
The Noemi All in One Pre & Post Wax Lotion (250ml) covers both sides of the service. Before waxing it cleanses and hydrates the skin quickly without leaving marks; afterwards it soothes and nourishes. It contains azulene and menthol for a refreshing, calming finish. It is CHF 17.50 for 250 ml, with a 24-month shelf life after opening. One bottle on the station replaces two separate products, which keeps your setup simple.
Mapping and shaping the brow
Never wax without a map: hairs removed in the wrong place take weeks to return.
- Start: a vertical line from the side of the nostril past the inner corner of the eye.
- Arch: a line from the nostril through the outer edge of the iris, looking straight ahead.
- End: a diagonal line from the nostril past the outer corner of the eye.
These are guidelines, not laws. Face shape, eye set and natural growth change the ideal result. Follow the growth pattern and remove less than you think you need; you can always take more next time.
Draw the outline, then check symmetry with the client sitting upright. The Noemi Brown Pencil is a powder pencil for drawing and mapping the shape before waxing and tinting, and it fills and defines between appointments (CHF 12.90). For firmer lines, the Noemi Pink Brow Mapping Paste maps and models the contours (CHF 15.90). Let the client approve the shape in the mirror before the first application.
Application and removal technique
Application
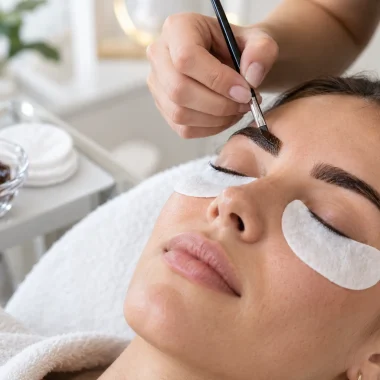
Use a small, clean spatula and apply a thin to medium layer of wax in the direction of hair growth, with a slightly thickened rounded edge at the end so you have something to grip. Work in small sections, such as the area under the brow, then the area between the brows, then the top line only if needed. Keep the wax strictly inside your marked outline. Press lightly along the layer to ensure contact with every hair, but do not rub; rubbing can shift hairs and cause breakage.
Removal
- Wait until the wax has set but is still flexible, usually a few seconds depending on the formula and the room temperature.
- With one hand, hold the skin taut in the direction opposite to the pull.
- Lift the thick edge and pull against the direction of hair growth, in one swift motion, keeping your hand close and parallel to the skin rather than pulling up and away.
- Immediately press your palm over the area for a moment to calm the sensation.
Do not apply wax twice over the same area in the same session if you can avoid it. Repeated removal on the same patch irritates the skin and can cause lifting. Remaining fine hairs are better dealt with using tweezers.
Combining waxing with lamination and tint
Order matters because lamination and tint involve chemistry that freshly waxed skin may not tolerate. There is no universal rule, so build a protocol and apply it consistently.
A practical order for same-day services
- Consultation and mapping on clean skin.
- Lamination first, on intact skin. A tool such as the Noemi Silicone Brow Patch for Lamination holds hairs in place for even product distribution (CHF 9.90).
- Tint, colouring hairs and the skin beneath where the stain should define the shape.
- Clean-up waxing last, with small amounts outside the shaped line, then soothing care.
Chemical solutions on freshly waxed, more open skin raise the risk of stinging. Removing a few stray hairs after the product has been rinsed away is lower risk. Waxing can also lift a little skin stain, so stay on the outside edges to keep the outline crisp.
The alternative
Some salons wax 24 to 48 hours before lamination or tint so the skin calms down fully, which is safest for sensitive or flushing skin. Always patch test according to the manufacturer’s instructions, and never combine services on red or sore skin.
Post-wax care
- Remove residue gently with a suitable oil or residue remover, without rubbing.
- Apply a soothing lotion to the whole area; the pre & post lotion above does double duty.
- For visible redness, the Noemi Redness Neutralizer is a water-based, buildable product that soothes and hydrates, with a green shade that neutralises redness (20 g, CHF 22.90).
What to tell the client
- Do not touch or rub the area for the rest of the day.
- Avoid sauna, steam, intense workouts, pools and sunbeds for at least 24 hours.
- Skip heavy makeup, exfoliating acids and retinoids on the area for a day or two.
- Do not pluck regrowth in between; rebook in about four to six weeks, depending on growth.
Contraindications and when to say no
A confident professional knows when not to wax. Decline or postpone the service, and refer the client to a doctor where appropriate, in these situations:
- Use of topical or oral retinoids, or recent chemical peels, laser or microdermabrasion in the area, because the skin can be thinner and lift easily.
- Sunburn, irritation, rashes, open cuts, cold sores, infections or inflamed acne in the area.
- Very thin, fragile or mature skin that tears easily, where a different hair removal method may be safer.
- Known allergies to wax ingredients, resins or fragrance.
- Certain medications or skin conditions that affect healing or skin fragility. If in doubt, ask for medical advice first.
- Recent cosmetic injectables or surgery in the face area: follow the guidance of the treating practitioner.
Document what you ask on a consultation form and have the client sign it. It protects both of you and shows that your standards are professional.
Your brow waxing station
Keep it simple: a brow-sized heater and hard wax, pre & post lotion, a soothing finisher, mapping tools, single-use spatulas, tweezers and scissors. The Noemi Predyed Thread Brown is a pre-coloured mapping thread for clean lines before tinting or waxing (20 ml, CHF 14.90). More tools and care products are on our brow page, and our refund and returns policy explains how to proceed if something is not right.
FAQ
Is hard wax better than soft wax for eyebrows?
For most brow work, yes. Hard wax grips hair far more than skin, applies precisely in small sections and is usually gentler on thin facial skin. Soft wax suits larger areas but pulls on the skin more.
How hot should brow wax be?
Warm and fluid, never hot. It should be honey-like and feel comfortably warm on your inner wrist. Do the wrist test and a first test section even if your heater has temperature control.
Should I wax before or after tinting or lamination?
A common approach is lamination and tint first, then a light clean-up wax on the outer edges. Alternatively, wax 24 to 48 hours earlier. Follow your product instructions and the client’s skin.
How long should hairs be for hard wax?
It depends on the formula. The Noemi Pink Premium Hard Wax is designed to work from about 1 mm. Very short or fine hairs may still need tweezing.
Who should not be waxed?
Clients using retinoids, or with recent peels or lasers, sunburn, irritation, infections, open wounds or very fragile skin. When in doubt, postpone and suggest medical advice.