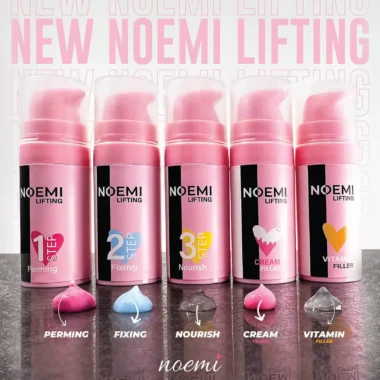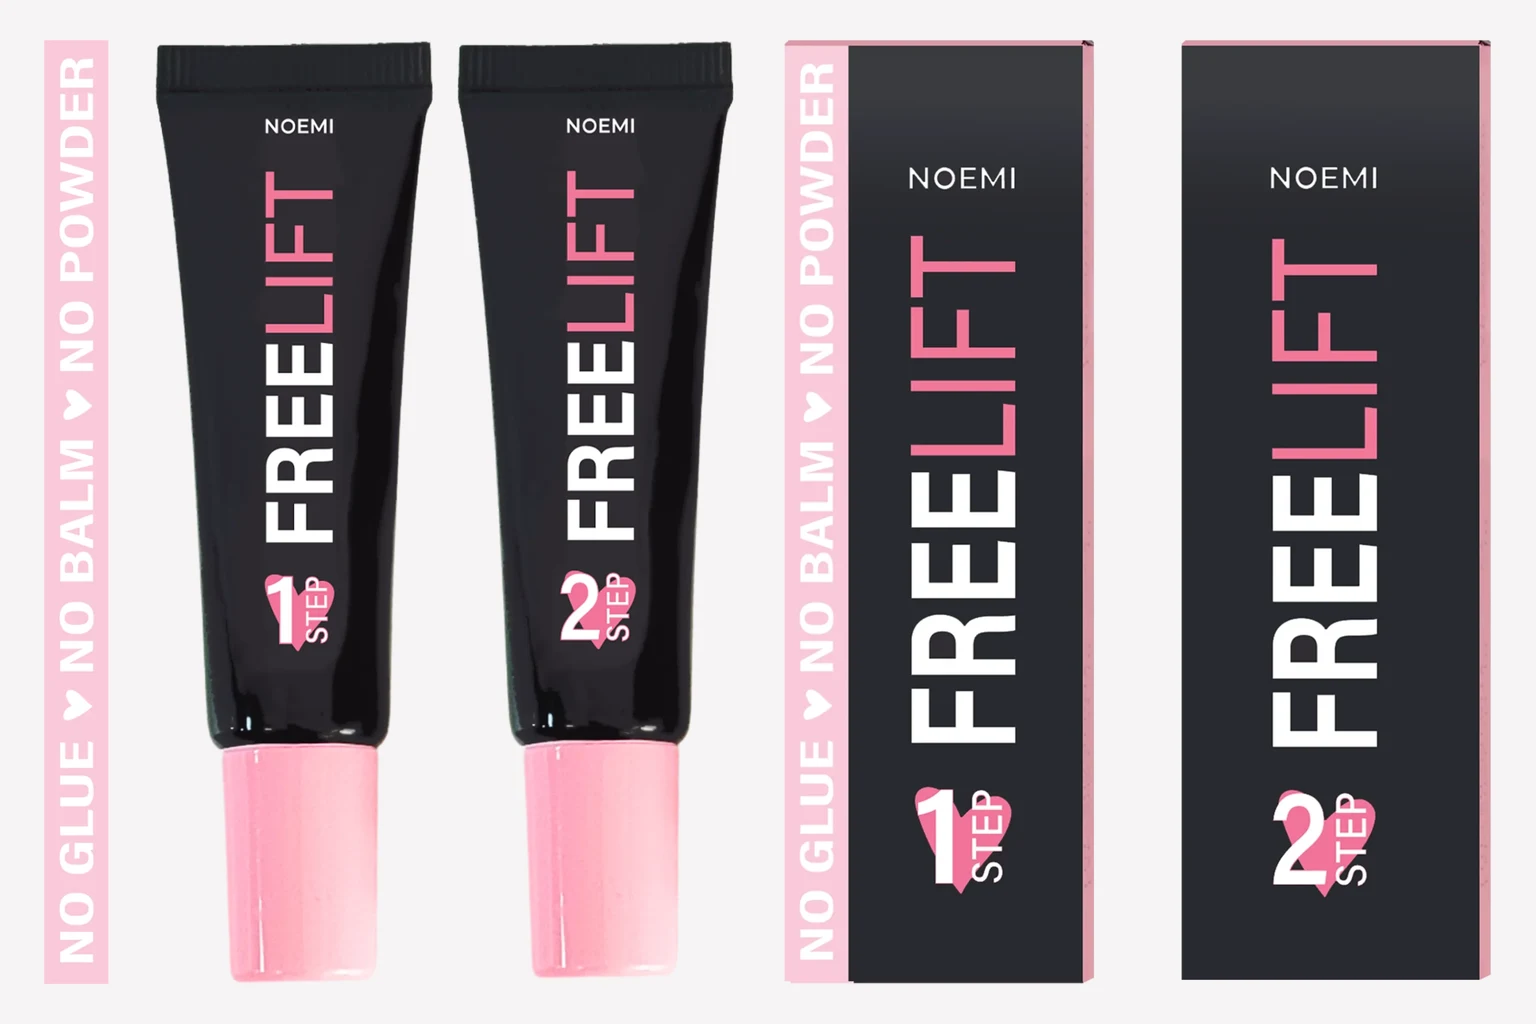
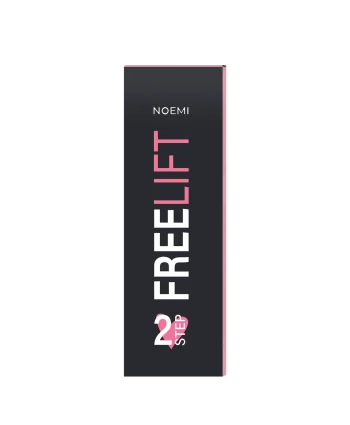
Noemi Freelift is a glue-free lash and brow lift: you place the lashes on the silicone pad, brush on Freelift Step 1 and its thick texture holds them in place without any glue, balm or powder. Step 1 processes for 6–11 minutes, then you remove it, apply Freelift Step 2 for 6–8 minutes and remove it again. Then finish with a nourishing aftercare product. That is the whole system in one sentence.
This guide follows the order you work at the treatment bed: preparation, placing the lashes in Step 1, choosing your time, removal, fixing with Step 2 and finishing. At the end you will find a numbered procedure, a timing table and an FAQ.
What makes Freelift different from a classic lash lift
In a traditional lift you first glue the lashes to the pad, then apply the lifting lotion. With Freelift those two moves become one. Noemi describes it as the world’s first glue-free lash lifting system: no glue, no powder and no balm are needed, because the lashes stick to the lifting pad as soon as the lotion is applied.
Key facts from the product information:
- Chemistry: both lotions are part of a system based on cysteamine and TGA (thioglycolate). Step 1 contains 2-aminoethanethiol hydrochloride (cysteamine) and ammonium thioglycolate. Step 2 is a fixing lotion with hydrogen peroxide.
- Care ingredients: Step 1 is enriched with cetearyl alcohol, CS-20, isopropyl myristate and urea. Step 2 contains cetearyl alcohol and triethylhexanoin to help prevent dryness during the treatment.
- Techniques: Freelift works for classic lash lifting, for the Korean lash lift technique and for brow lifting.
- Size: 10 ml per tube.
If you want to understand how cysteamine and thioglycolate compare as active ingredients, read our article on cysteamine vs thioglycolate in lash lifting.
The Freelift products
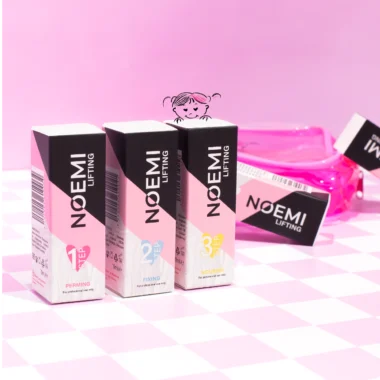
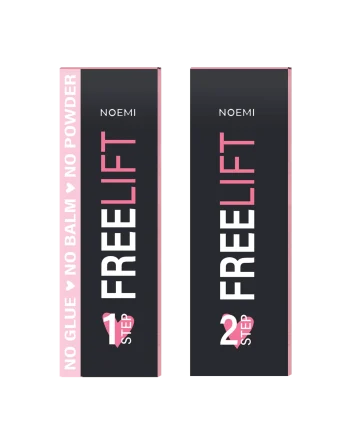
You can buy the two steps together in the Noemi Freelift Set (Step 1 & 2), or reorder each step separately when one tube runs out first. Step 1 is the lifting lotion: it softens the hair so it takes on the shape of the pad. Step 2 is the fixing lotion: it sets the new shape and stabilises the lift so it lasts.
-
Noemi – Freelift Set – Step 1 & 2 CHF 50.90
The complete Freelift system – the world’s first glue-free lash and brow lift, needing no glue, powder or balm. It pairs the Step 1 lifting lotion with the Step 2 fixing lotion, both based on cysteamine and TGA, and works for classic lash lifting, brow lifting and the Korean lash lift technique.
7 in stock
-
Noemi – Freelift Step 1 CHF 28.90
The lifting step of Freelift, the world’s first lash & brow lift that needs no glue, powder or balm. This innovative lotion, based on cysteamine and TGA, opens the hair to shape the lift and works for both classic lash lifting and the Korean lash lift technique. 10ml.
7 in stock
-
Noemi – Freelift Step 2 CHF 28.90
The fixing step of Freelift, the world’s first lash & brow lifting system that works without glue, powder or balm. Applied after Step 1, this professional fixing lotion sets and stabilises the shape of the lashes and brows for a long-lasting, perfectly defined lift. 10ml.
7 in stock



Before you start: preparation
Consultation and patch test
Ask about sensitivities, recent eye treatments and previous lifts. As with every chemical lash or brow service, carry out a patch test before the first treatment and follow the instructions supplied with the product. If the client wears contact lenses, ask her to take them out before you begin.
Cleanse the lashes
Remove all make-up, mascara and oil from the lashes and lid with an oil-free cleanser, then let everything dry fully. Oil and residue stop the lotion from holding the lashes on the pad and can make the lift uneven.
Protect the lower lashes and choose the pad
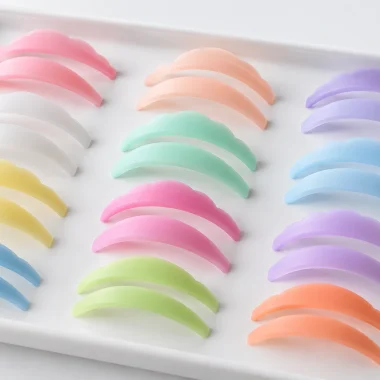
Place an under-eye patch to cover the lower lashes. Then choose the silicone pad to suit the lash length and the curl the client wants. Short lashes usually need a smaller pad, and longer lashes a larger one. Our lash lift rods guide explains sizing in detail. Noemi silicone pads such as the Multi Color Soft Silicone Pads sit on the lid without glue, which suits the Freelift idea well. Place the pad close to the lash line so the lift starts right at the root.
-
Noemi – Dual Timer (2 timers in 1) CHF 15.90
A reliable two-in-one timer for any treatment with an exposure time. Run two different countdowns at once – perfect when a lash lift and a brow lamination are processing together – so nothing is ever left on too long. Requires 2x AAA batteries (not included).
4 in stock
-
Noemi – Multi Color Soft Silicone Pads + 1 paire for lower lashes CHF 24.90
Fine, ultra-soft hybrid silicone pads that work with any eye and lash type. The shape adapts to every eye, and the size range covers everything: 6 pairs for the upper lashes – S (2), M (2.5), L (3), LL (3.5), XL (4), XXL (4.5) – plus 1 pair for the lower lashes.
5 in stock
-
Noemi – Silicone pads 2.0 Premium (8 pairs mix) CHF 27.90
Premium silicone lash lift pads that create two different looks: a stronger boosted effect with the S, M, L, XL shapes, or a softer rounded effect with S1, M1, L1, XL1. The soft, matte, uniquely shaped pads suit long, multi-layered and downward-growing lashes. Mix box of 8 pairs.
5 in stock


Step 1: placing the lashes without glue
Here Freelift feels different: there is no gluing first, the lotion does that job.
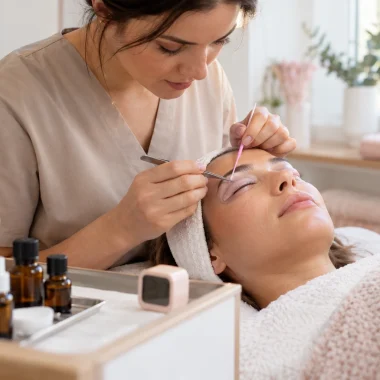
- Lift the lashes onto the pad with a lash lift tool or comb, working in small sections from the inner corner to the outer corner.
- Apply a generous amount of Freelift Step 1 evenly from base to tip with a brush. Do not be sparing: the thick consistency is what holds the lashes on the pad.
- As you apply, press and guide each section into place so the lashes lie straight, separated and without crossing. The lotion’s texture keeps them in position while you work on the next section.
- Check the outer corners and the very short inner lashes before you start the timer. They are the most likely to slip.
Because placing the lashes and applying the lotion happen together, plan your timing carefully. The processing time is counted from the moment Step 1 is on the lashes, so work in a steady rhythm and try to finish the second eye soon after the first. A dual timer that runs two countdowns at once is useful here.
How long to leave Step 1 on: choosing within 6–11 minutes
Noemi gives a processing time of 6–11 minutes for Step 1. That range is the limit: never go over 11 minutes. Where you land within it depends on the hair in front of you. As a general rule of thumb used in lash lifting, not a manufacturer instruction, many artists approach it like this:
- Fine, thin, tinted or previously lifted lashes generally process faster, so stay towards the shorter end of the range.
- Average, healthy lashes are usually fine in the middle of the range.
- Thick, coarse or very straight, resistant lashes may need the longer end, up to the maximum of 11 minutes.
When you are unsure, especially with a new client, choose the shorter time. An under-processed lift can be redone at a later appointment. Over-processed, dry lashes cannot be undone.
Removing Step 1
When the time is up, remove Step 1 completely before you apply Step 2. Wipe gently from root to tip with a clean, dry cotton bud or a lint-free applicator, taking care not to move the lashes on the pad. They need to stay in exactly the shape you created. Leftover lotion can keep working or stop Step 2 from reaching the hair evenly.
Step 2: fixing the lift
- Apply Freelift Step 2 evenly over the same area, from base to tip, directly after Step 1 has been removed.
- Leave it on for 6–8 minutes, the processing time Noemi recommends for Step 2.
- Remove Step 2 thoroughly from root to tip, again without disturbing the lashes.
Step 2 locks in the shape Step 1 created and sets the curl.
Aftercare and nourishing: optional finishing steps
Once both lotions are off, the chemical part of the service is finished. Many artists add a finishing step to bring back care and moisture to the hair before they release the pads. Here are two options from our range:
- Noemi Brow & Lash Argan Creme is a final-step cream for lashes and brows with argan, castor, olive and rosehip oil plus vitamin E. It is also suitable for daily use, which makes it an easy product to recommend for home care. If you want to try it first, it is also available as a single 1 g sachet.
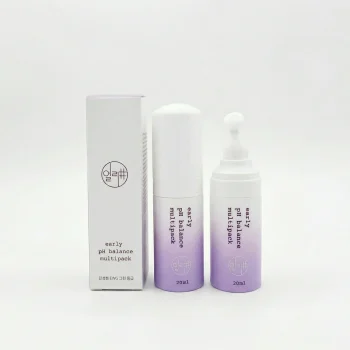
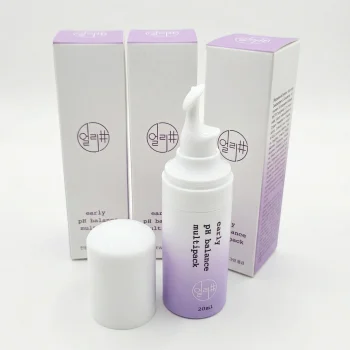
- Early pH Multipack Balance is a post-lift treatment from the Early range that restores pH (4.5–5.5) and nourishes with panthenol, hydrolysed keratin and sodium hyaluronate. It is not part of the Freelift system, so treat it as an optional extra and follow its own instructions. Used as a final repair step (its option B), you apply it after Step 2 has been removed, let it process for 5–10 minutes and then gently wipe away the excess.
Then release the pads gently, comb the lashes into shape and give simple home-care advice, such as not rubbing the eyes.
-
Early – PH Multipack Balance (20ml) CHF 32.90
The essential aftercare step for lash lifts and lamination. Lash lift lotions create the curl by breaking hair bonds, which leaves the lashes chemically unbalanced; this professional treatment restores, nourishes and repairs them immediately afterwards, rebalancing pH so the lift lasts and the lashes stay healthy. 20ml multipack.
4 in stock
-
Noemi – Argan Cream Sachet CHF 1.95
A single 1g sachet of Noemi Argan Cream, the perfect finishing treatment to nourish lashes and brows after lifting or colouring. Ideal for trying the cream before committing to a full tube, or for a single-use application.
5 in stock
-
Noemi – Brow & Lash Argan Creme CHF 15.90
A nourishing final-step cream developed specifically to care for lashes and brows after colouring and lamination. Rich in argan oil and essential vitamins, it supports the health and appearance of the hair and is gentle enough for daily use – the aftercare to recommend to clients for home.
10 in stock


Using Freelift on brows
Freelift is suitable for both eyelash and eyebrow lifting, and the same principle applies: the thick Step 1 lotion holds the hairs in position without glue. Cleanse and dry the brows, apply Step 1 generously and brush the hairs into shape; the texture keeps them where you place them. Follow with Step 2 and the same removal steps. Noemi gives one time range for each step, so stay within 6–11 minutes for Step 1 and 6–8 minutes for Step 2, and choose your time based on how fine or coarse the brow hair is. Finish with a nourishing product, for example the argan cream, which is made for lashes and brows.
The full Freelift procedure at a glance
- Consultation, patch test and contact lenses out.
- Cleanse lashes and lids with an oil-free cleanser and let them dry.
- Protect the lower lashes with an under-eye patch.
- Choose the silicone pad and place it close to the lash line.
- Lift the lashes onto the pad in sections.
- Apply Freelift Step 1 generously from base to tip and use its thick texture to fix the lashes without glue.
- Process Step 1 for 6–11 minutes, choosing your time by lash type.
- Remove Step 1 completely without moving the lashes.
- Apply Freelift Step 2 from base to tip.
- Process Step 2 for 6–8 minutes.
- Remove Step 2 thoroughly.
- Optional: apply a nourishing finish according to its own instructions.
- Release the pads, comb the lashes and give aftercare advice.
Freelift timing table
| Step | Product | Time |
|---|---|---|
| Lift and place lashes | Noemi Freelift Step 1 | 6–11 minutes |
| Fix the lift | Noemi Freelift Step 2 | 6–8 minutes |
| Optional repair finish | Early pH Multipack Balance (option B) | 5–10 minutes |
| Nourish and aftercare | Noemi Brow & Lash Argan Creme | Final step, also for daily use |
FAQ: Noemi Freelift
Do I really need no glue at all with Freelift?
Yes. Freelift is designed to work without glue, powder or balm. The lashes stick to the lifting pad as soon as you apply Step 1, because of its thick consistency.
How long do I leave Freelift Step 1 and Step 2 on?
Step 1 processes for 6–11 minutes and Step 2 for 6–8 minutes. Choose a time within the Step 1 range to suit the hair: fine or previously treated lashes towards the shorter end, strong and resistant lashes towards the longer end. Never go beyond 11 minutes.
Can I use Freelift for the Korean lash lift?
Yes. Noemi states that Freelift works for both classic lash lifting and the Korean lash lift technique. Your pad choice and placement close to the lash line decide the final look.
Can Freelift be used for brow lifting?
Yes. Freelift is suitable for eyelashes and eyebrows. Apply Step 1 to clean, dry brows, brush the hairs into shape and follow the same timings and removal steps as for lashes.
Which aftercare product should I use after Freelift?
A nourishing finish is optional but popular. The Noemi Brow & Lash Argan Creme is made as a final care step for lashes and brows. The Early pH Multipack Balance can also be used as an optional finishing step after Step 2, following its own instructions.